


SLURM Basic Overview
SLURM is highly scalable cluster management and job scheduling system for large and small Linux clusters. In HORUS, you can use Open OnDemand to access compute resources, run and monitor your work, and download your work result once it’s done processing. We show here how you can submit a job to a specific SLURM partition. If you would like to read more about SLURM, visit the official SLURM Quick Start User Guide
To be able to submit a SLURM job in HORUS, you would need to know and set some parameters for SLURM scheduler so that your job can get scheduled on the right processing queue. To demonstrate this, we’ll create a test bash script and set the SLURM parameters in the script as bash comments but with speciffic syntax.
Create a New Job
Log into the HORUS Open OnDemand, and navigate to the Job Composer as shown below:

You should now see a job template where you can view the job details and submit script. Click on “Open Editor” to put your script.
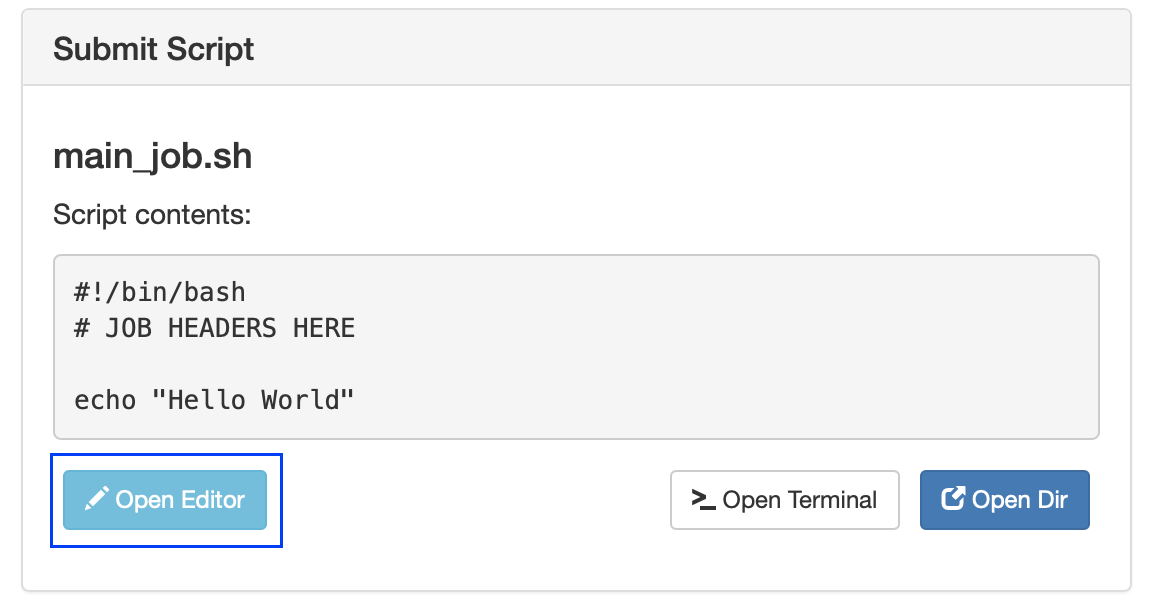
In the editor window, enter the following bash code and click ‘Save’
#!/bin/bash
# JOB HEADERS HERE
# This sets the partition we’re requesting. Other options are lm and gp
#SBATCH -p lc
hostname
sleep 60
echo "Hello World from a HORUS large Compute (lc) node"
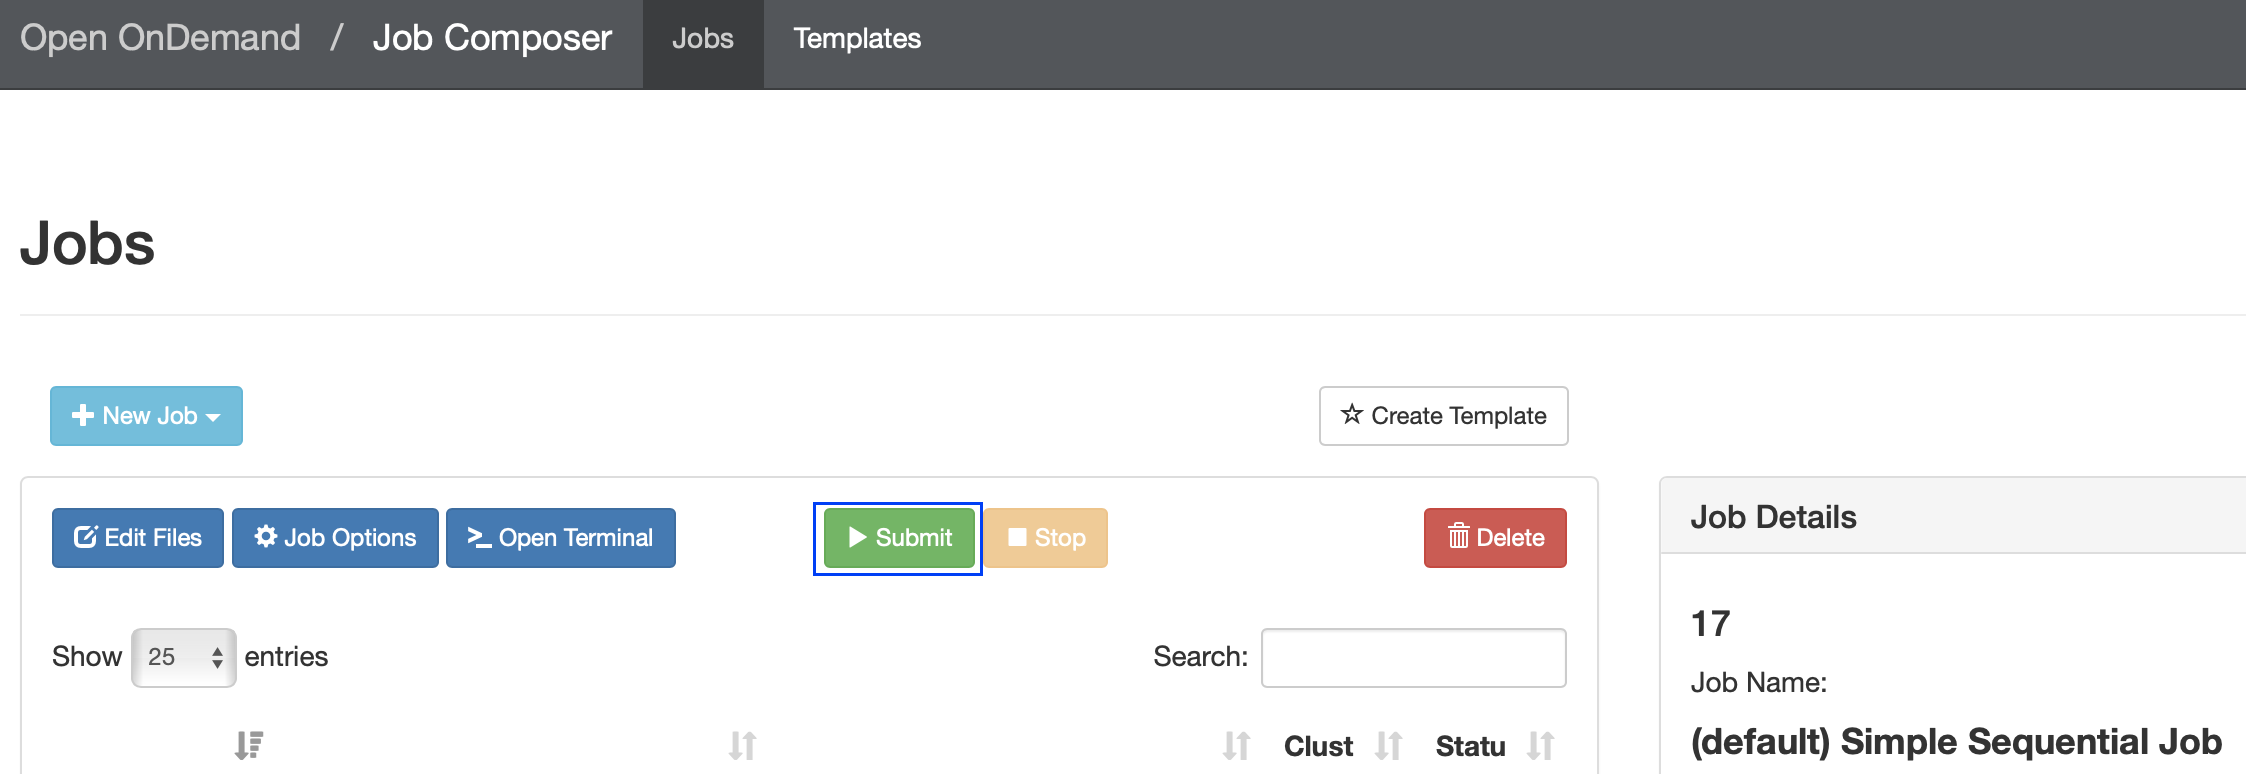
Go back to the previous page, and click on ‘submit’ as shown here:
To view all active jobs you submitted, go to the Open OnDemand home page, and then click on Jobs -> Active Jobs. It would list something like this:

For more information on the SLURM options you can use in your script, please see the documentation for the sbatch command.
Building Software
HORUS also uses European Environment for Scientific Software Installations (EESSI) and EasyBuild to allow users to build the software they need, and then use what they built in their jobs without needing to be ‘root’. Here is how you can build your software on HORUS using EasyBuild:
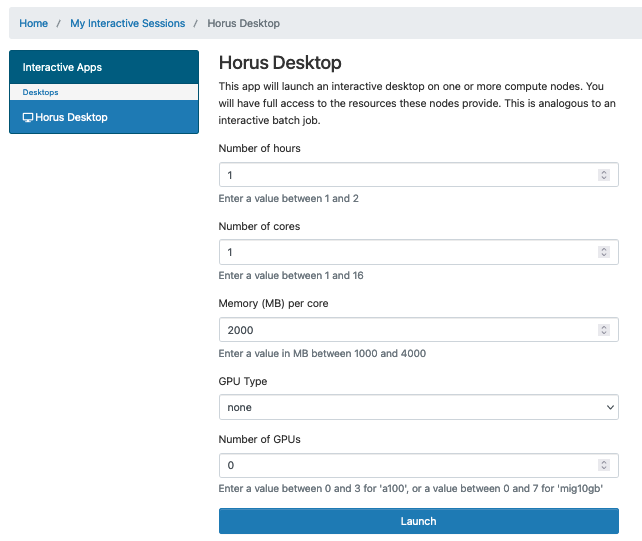
Log into HORUS Open OnDemand, and create an interactive desktop session by clicking on ‘HORUS Desktop’

Specify the resources you need, including GPU details if needed, and click on Launch.
HORUS will allocate the resources and update the status to Running when it’s ready. Once the desktop is ready, you’ll see what host it’s running on, and time remaining.
Adjust the compression and image quality as desired. For slower connections, choose high compression and low image quality.
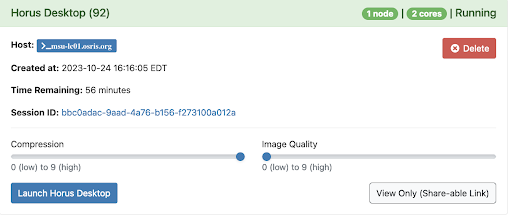
Launch your HORUS Desktop, and then open a terminal window as shown.

In the terminal window:
- Load the EESSI environment for your bash session by running the following:
source /usr/local/bin/load_eessi_env - To search for a specific software in EESSI, you can run
module spider <key-word>. For example,module spider gccormodule spider easybuild.- If you find the software you need in EESSI, you can just load it and use it without having to go through the build process. The command to load the software:
module load <software-name>
- If you find the software you need in EESSI, you can just load it and use it without having to go through the build process. The command to load the software:
- To search for an app build files in EasyBuild, run
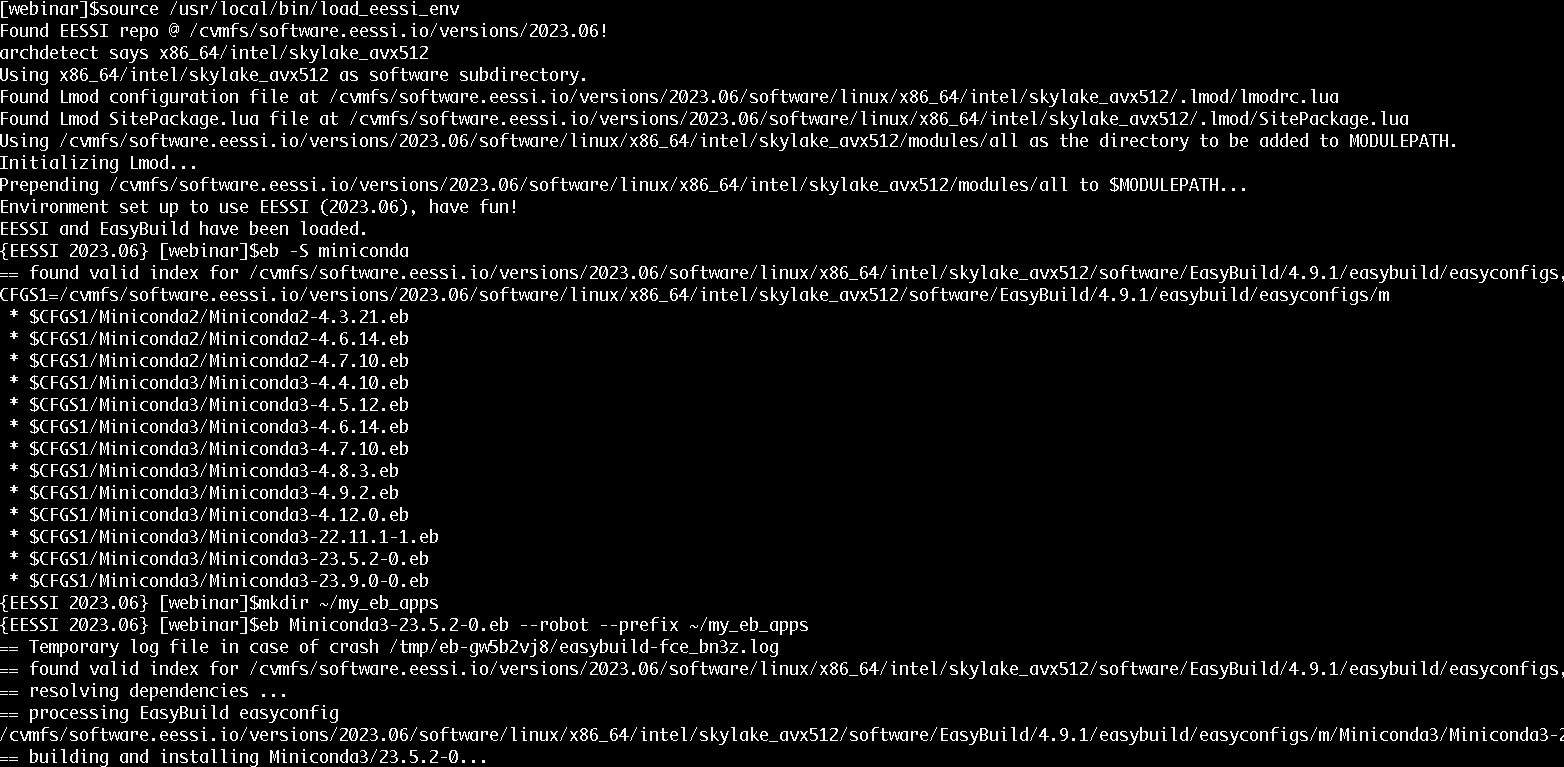
eb -S <app-key-word>.- Select the software and version you need from EasyBuild and build it with the
ebcommand like this:eb <app-name.eb> --robot --prefix <path-to-your-eb-app-dir>( –prefix should point to a location in your home directory, and this directory location will be used to software you build).
- Select the software and version you need from EasyBuild and build it with the
To use the software in your code:
If you’re using a software from the EESSI software stack, all you need to do is loading the EESSI environment, and then the software. As an example, to use Perl, run the below two commands:
source /usr/local/bin/load_eessi_envmodule load Perl
But if you would like to use software you built using EasyBuild, then you need to:
- Load EESSI and EasyBuild by running:
source /usr/local/bin/load_eessi_env - Update module path by running:
module use <path-to-your-eb-app-dir>/modules/all - Optional: Check available modules by running
module avail. (You don’t need to run this in your code, but this would be useful when you’re trying the steps manually in bash and would like to see what modules are available to load in your environment) - Load the module you need, for example
module load Miniconda3/23.5.2-0to load Miniconda v23.5.2.
